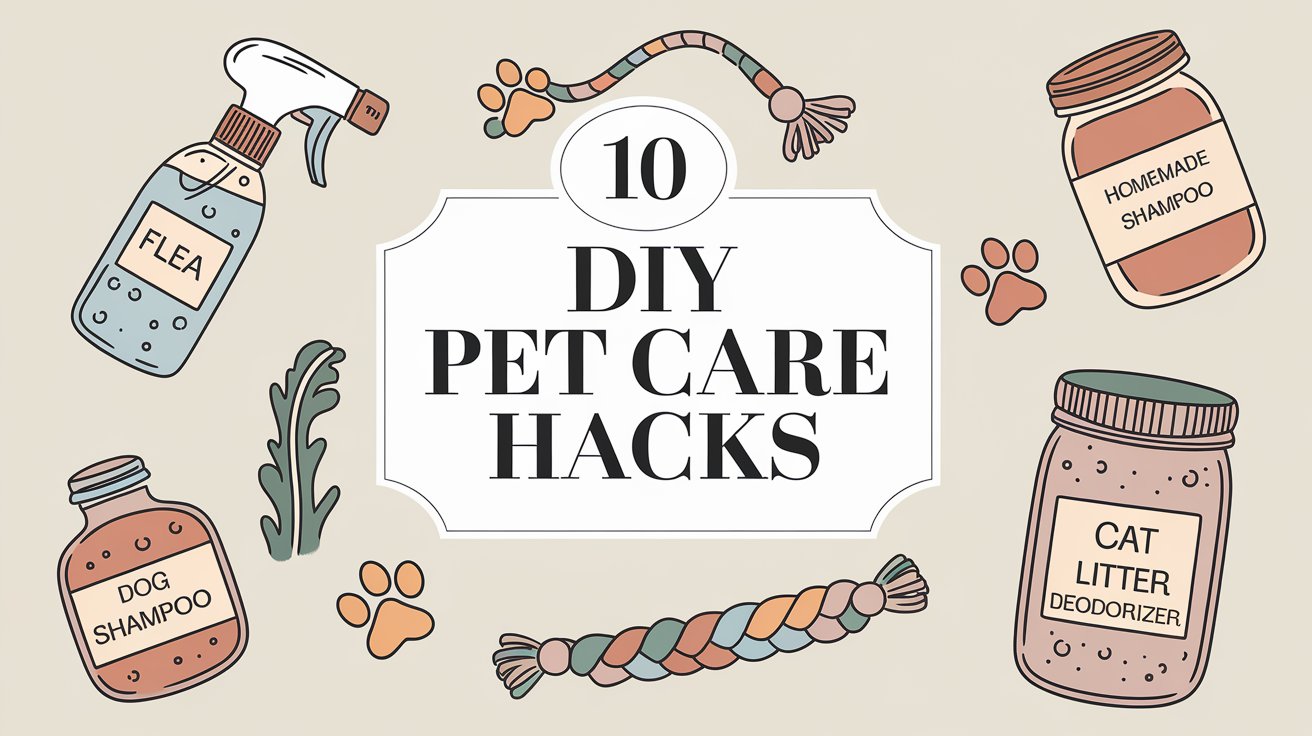
Pets bring so much joy and comfort into our lives, but their care can quickly add up. From grooming products to toys and everything in between, the costs can be overwhelming. But here’s the good news: there are plenty of simple, effective, and budget-friendly DIY pet care hacks that can save you money without sacrificing the quality of care your pets deserve. Below, I’ve compiled 10 pet care hacks that are easy to do, cost-effective, and won’t compromise your furry friend’s well-being.
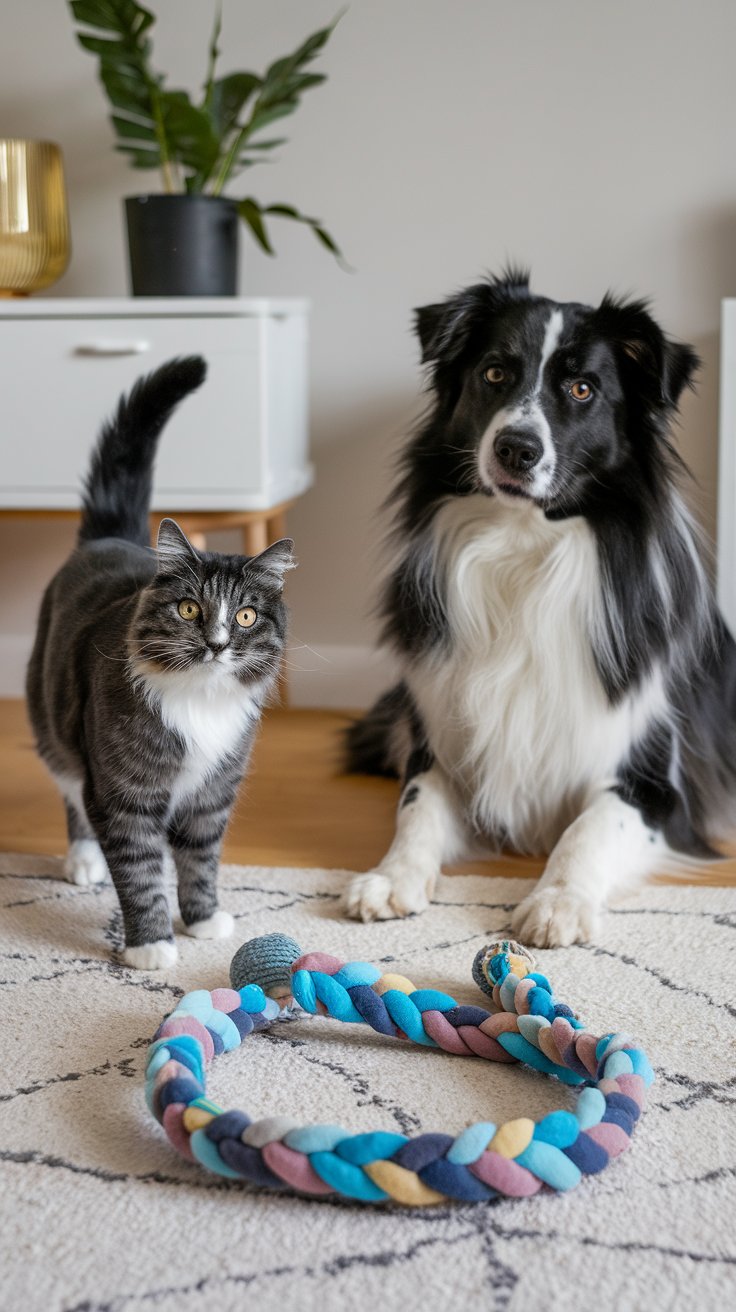
1. Homemade Pet Toys
Save money by using items you already have at home to create fun, safe toys for your pets.
DIY pet toys can be as simple as repurposing household items into something your pet will love. For cats, you can use an old sock filled with rice or catnip to create a fun “kick toy.” Dogs can enjoy a bouncy homemade rope toy made from old t-shirts or fleece strips. Not only will this save you money, but it’s also a great way to recycle unused items.
DIY Dog Toy: No-Sew Fleece Rope Toy
This easy-to-make fleece rope toy is perfect for dogs who love to tug and chew. Fleece is soft on their teeth but durable enough for rough play.
Materials Needed:
- 2-3 strips of fleece fabric (about 1.5 inches wide and 20-30 inches long)
- Scissors
Instructions:
- Cut the Fleece:
- Start by cutting the fleece into strips. If you’re using multiple colors, you can mix and match, but be sure to cut each strip to the same width (around 1.5 inches) and length (about 20-30 inches depending on your dog’s size and play style).
- Align the Strips:
- Lay all the fleece strips on a flat surface, aligning them next to each other. Make sure the ends are even for a tidy look.
- Tie a Knot:
- Gather all the strips together at one end and tie a knot to hold them in place. This will be the top of your rope toy. Make sure the knot is tight so it doesn’t come undone during play.
- Braid the Strips:
- Start braiding the fleece strips together, just like you would with a standard hair braid. Braid tightly to make the toy sturdy and more durable. Keep the tension even to prevent any part of the toy from being too loose or slack.
- Tie the End:
- Once you’ve braided all the way down to the end of the strips, tie another knot to secure the braid in place. Again, make sure it’s tight so that it doesn’t unravel when your dog starts playing.
- Trim the Excess:
- If necessary, trim any extra fleece at the ends to make sure the toy is even and looks neat.
- Ready for Play:
- Your DIY fleece rope toy is ready! Let your dog enjoy hours of fun tugging, chewing, and playing fetch.
This is a quick and cost-effective DIY dog toy that’s perfect for interactive play with your pup! The fleece is soft yet durable, and you can easily customize the length and color to suit your dog’s preferences.
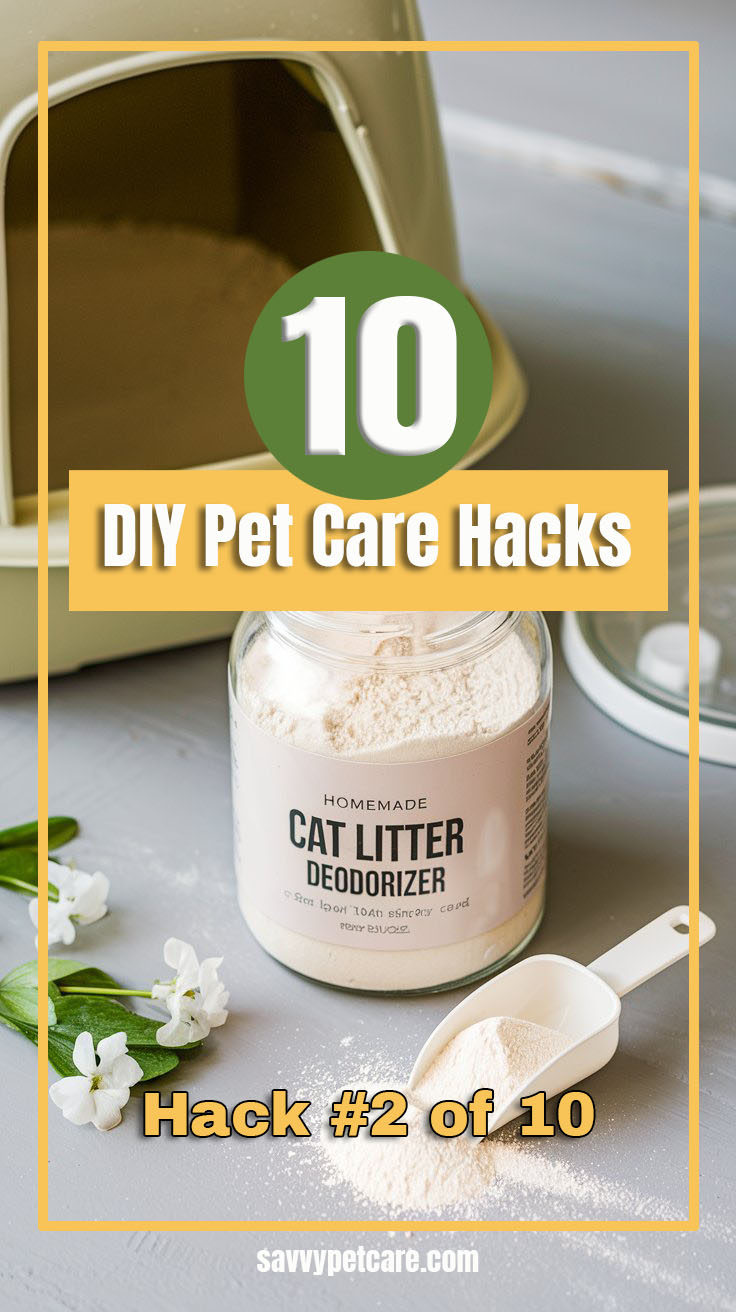
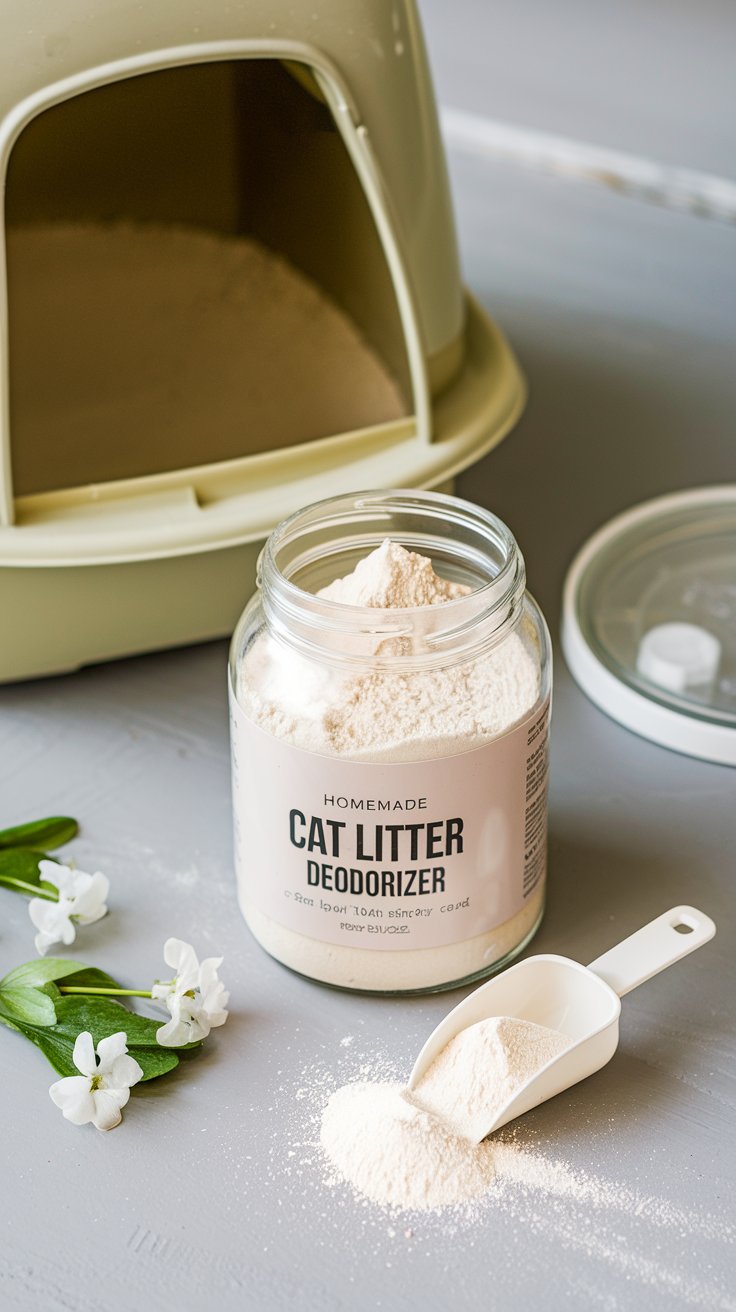
2. DIY Cat Litter Deodorizer
Keep your cat’s litter box smelling fresh without splurging on commercial deodorizers.
Being the mom of several indoor cats, this is one of my favorite DIY pet care hacks. A simple DIY cat litter deodorizer can be made using baking soda and a few drops of essential oils like lavender or cedar wood. Just sprinkle the mixture on the litter and stir it in for a fresh-smelling box without the hefty price tag of store-bought solutions. Be sure to choose pet-safe essential oils, as some oils can be harmful to your furry friend.
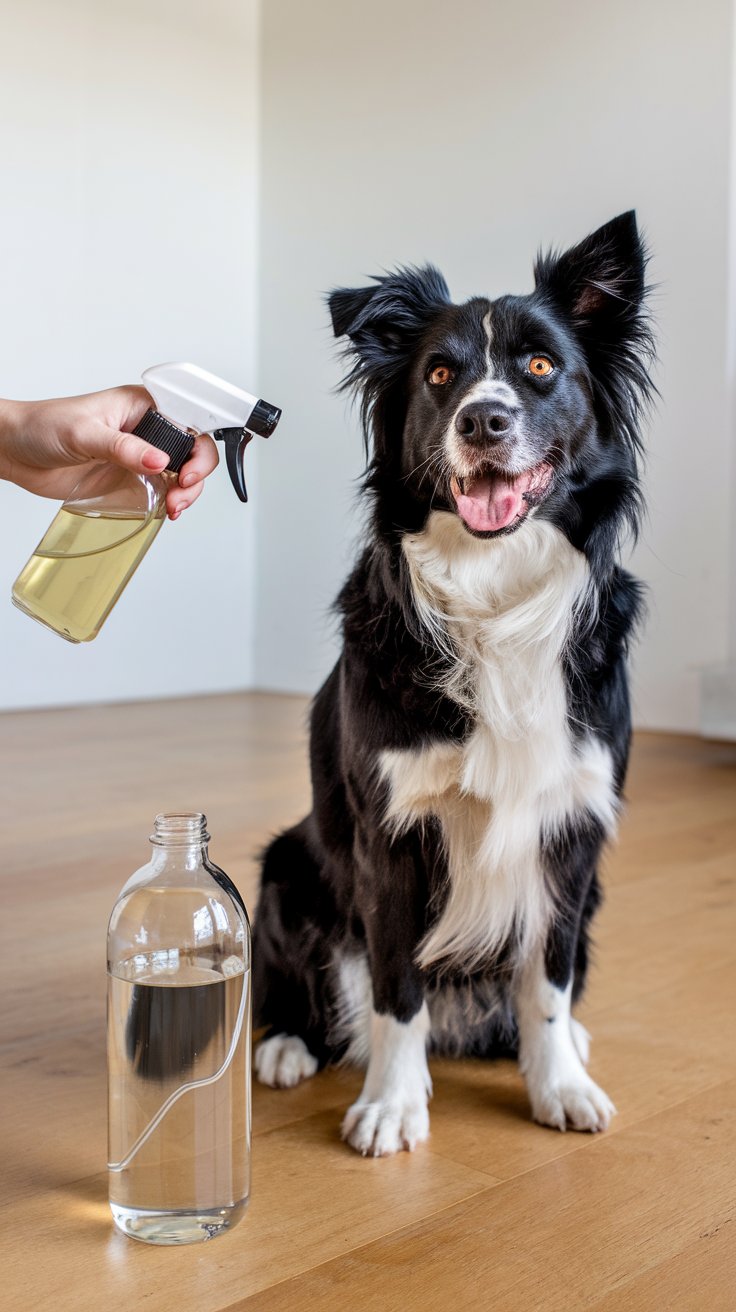
3. Natural Flea Repellent Sprays
Say goodbye to expensive flea treatments with a natural DIY flea repellent.
Fleas are a common nuisance for pets, but commercial treatments can be pricey and sometimes contain harsh chemicals. Instead, try this natural flea repellent spray made from ingredients that are safe for both your pet and the environment. Mix equal parts apple cider vinegar and water in a spray bottle, and add a few drops of cedarwood or peppermint essential oil (both safe for pets). Gently mist your pet’s fur, avoiding the eyes, to help deter fleas naturally. This homemade solution is a budget-friendly and safe alternative to chemical flea treatments.
Keep in mind that these natural remedies do not kill fleas or eradicate any part of the life cycle of fleas. These natural products are only deterrents. For a little more natural help, try my favorite hack in the war against insect pests.
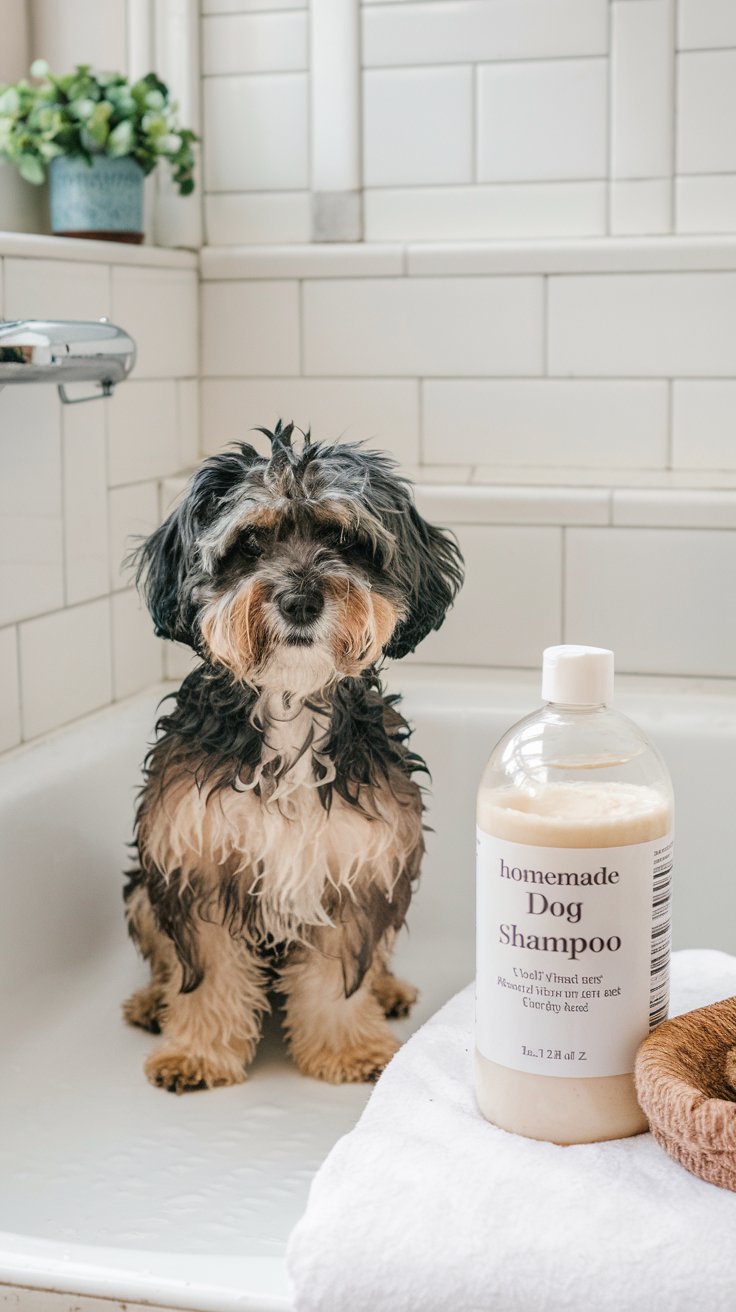
4. Homemade Dog Shampoo
Save on grooming costs by creating your own dog shampoo.
If you’re looking to avoid the expense of store-bought pet shampoos, a homemade dog shampoo can be a lifesaver. Mix together coconut oil, baking soda, and a little bit of water for a gentle and effective cleanser. This homemade shampoo is great for keeping your dog clean, shiny, and smelling fresh without using harsh chemicals.
Here’s a simple, homemade dog shampoo recipe that’s gentle and effective, perfect for cleaning your dog’s coat without harsh chemicals.
Homemade Dog Shampoo Recipe
Ingredients:
- 1/4 cup of castile soap (a gentle, plant-based soap that’s safe for dogs)
- 1/4 cup of distilled water
- 1 tablespoon of coconut oil (moisturizing and soothing for your dog’s skin)
- 1 teaspoon of vegetable glycerin (optional, for extra moisture)
- 1-2 drops of tea tree oil (optional, for its natural antibacterial properties; use sparingly and ensure your dog isn’t sensitive to it)
Instructions:
- Prepare the Base:
- In a small mixing bowl or container, combine the castile soap and distilled water. Stir well to blend them together. The castile soap is gentle and works as the main cleansing agent.
- Add Moisturizing Ingredients:
- Stir in the coconut oil and vegetable glycerin. Coconut oil is excellent for hydrating your dog’s skin and coat, while vegetable glycerin helps retain moisture and makes the shampoo more soothing.
- Add Essential Oils (Optional):
- If you choose to include essential oils, add 1-2 drops of tea tree oil. Be very careful with essential oils, as dogs can be sensitive to certain ones. If your dog has sensitive skin, it’s safer to skip this step or opt for a more gentle oil like lavender (which is safer for dogs when used in small amounts).
- Mix Well:
- Stir the mixture thoroughly until all ingredients are well combined.
- Transfer to Bottle:
- Pour your homemade dog shampoo into a bottle or container with a lid for easy storage and use.
- To Use:
- Wet your dog’s coat with warm water. Apply a small amount of shampoo, lather, and gently massage it into their coat and skin. Rinse thoroughly to remove all the shampoo. Make sure to avoid getting it in your dog’s eyes.
This homemade dog shampoo is an affordable, natural solution that leaves your dog feeling fresh and clean without the use of harsh chemicals. Plus, it’s gentle on their skin, especially for dogs with sensitive skin or allergies.
f you don’t have Castile soap on hand or prefer to use an alternative, there are a few other options you can try to create a gentle, homemade dog shampoo. Here are some alternatives:
1. Baby Shampoo:
- Why: Baby shampoo is a mild, tear-free option that’s safe for your dog’s sensitive skin.
- How to Use: Substitute it for Castile soap in equal amounts. It will gently cleanse your dog’s fur and skin without irritating them.
2. Unscented Dish Soap (Mild):
- Why: A gentle, unscented dish soap can be a good substitute for cleaning, but it should be used sparingly to avoid drying out the skin.
- How to Use: Use about half the amount of dish soap as you would Castile soap, then dilute it with extra water to ensure it’s not too harsh.
3. Liquid Glycerin Soap:
- Why: Liquid glycerin soap is another mild, moisturizing option that’s gentle on your pet’s skin.
- How to Use: Use the same amount as you would Castile soap for a gentle lather.
4. Aloe Vera Gel:
- Why: Aloe vera is soothing and moisturizing, making it ideal for dogs with sensitive or dry skin.
- How to Use: Combine aloe vera gel with water in a 1:1 ratio for a gentle and hydrating shampoo.
5. Baking Soda:
- Why: Baking soda is a natural, mild cleanser that can help remove dirt, odors, and oils.
- How to Use: Mix 1 tablespoon of baking soda with 1 cup of warm water, and use it to scrub your dog’s coat. It’s not a lathering cleanser, but it works effectively for a deep clean.
You can experiment with these alternatives depending on what you have available. If you’re unsure of your dog’s skin sensitivities, always test a small amount on a patch of skin before using it all over.
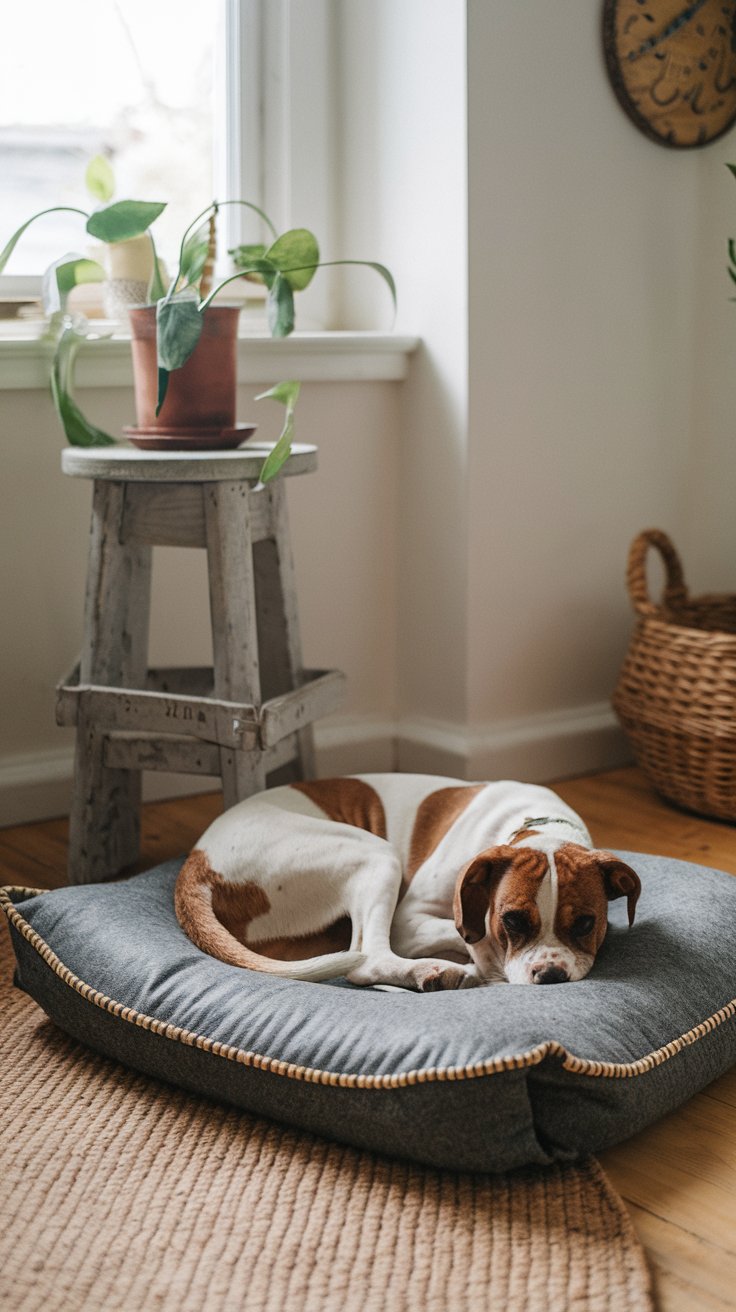
5. DIY Pet Bed
Create a cozy, comfortable bed for your pet without spending a fortune.
Making a DIY pet bed is a fun and easy project. You can upcycle old blankets, towels, or even your old clothes into a soft and supportive bed. Simply fold and stitch the fabric into a cushion or use an old pillow as a base. Your pet will appreciate the comfort, and you’ll love the savings.
Here’s a step-by-step guide to making a simple and cozy DIY pet bed using materials you likely already have at home.
DIY Pet Bed: Simple No-Sew Fleece Pet Bed
This no-sew fleece pet bed is soft, comfy, and easy to make. Fleece is perfect because it’s warm, durable, and gentle on your pet’s skin.
Materials Needed:
- 2 pieces of fleece fabric (approximately 30 x 30 inches each; you can use a single color or two contrasting colors for the top and bottom)
- Scissors
- Ruler or measuring tape
- Fabric glue or fabric tape (if you prefer to attach edges neatly)
Instructions:
- Prepare the Fleece:
- Lay both pieces of fleece flat on a clean surface, with the good sides facing up (the side you want to show when the bed is finished).
- Make sure the pieces are the same size (approximately 30 x 30 inches, but you can adjust based on the size of your pet).
- Cut Fringe Around the Edges:
- Using scissors, cut 3-4 inches of fringe along all four edges of both fleece pieces. Cut about 1 inch into the fabric on each side, so you’re left with long strips that hang down.
- Make sure the fringe is even, and that both pieces of fleece have the same size fringe along the edges.
- Create the Base:
- Place the two pieces of fleece on top of each other, aligning the fringed edges. One piece will be the top of the bed, and the other will be the bottom.
- Make sure the fleece pieces are centered and aligned before moving to the next step.
- Tie the Fleece Together:
- Begin tying the fringed strips from both layers together into double knots. Tie each strip from the top piece to the matching strip from the bottom piece, making sure the knots are tight and secure.
- Continue tying all four sides, leaving a small gap (about 6-8 inches) open on one side.
- Stuff the Bed:
- Once all sides are tied, flip the bed inside out, so the knots are on the inside and the soft fleece is on the outside.
- Stuff the bed with soft materials such as old towels, fabric scraps, or polyfill (you can even use old pillows for a more cushioned feel).
- Add enough stuffing to make the bed firm but still cozy.
- Close the Opening:
- Once you’ve stuffed the bed to your liking, tie the remaining gap closed using the same method you used to tie the other sides. Secure the knot tightly.
- Fluff and Adjust:
- Once the bed is closed, gently fluff the stuffing and smooth out the fleece to make sure it’s even and comfortable.
- Adjust the filling as needed to ensure it’s even and your pet’s bed looks plush.
- Ready for Use:
- Your DIY fleece pet bed is now ready for your furry friend! Place it in their favorite spot and watch them enjoy their new cozy space.
This no-sew pet bed is quick and easy to make, with minimal materials required. Plus, it’s super customisable—you can choose different colors or even add fun patterns to suit your pet’s personality!
6. Homemade Pet Treats
Treat your pets to something delicious without breaking the bank.
Homemade pet treats are not only cost-effective, but they’re also healthier for your pets. For dogs, try a simple recipe with peanut butter, oats, and a little honey. Cats will love tuna treats made from tuna, oat flour, and an egg. You can control the ingredients, ensuring your pet gets a nutritious snack without any additives or preservatives.
Here’s a simple and healthy dog treat recipe that’s easy to make and perfect for rewarding your pup.
Peanut Butter & Oat Dog Treats
Ingredients:
- 1 cup of rolled oats
- 1/2 cup of natural peanut butter (make sure it doesn’t contain xylitol, which is toxic to dogs)
- 1/2 cup of whole wheat flour (you can substitute with oat flour for a gluten-free option)
- 1/4 cup of water (or as needed to form dough)
- 1 egg (optional, for added structure and moisture)
Instructions:
- Preheat the Oven:
- Preheat your oven to 350°F (175°C) to get it ready for baking.
- Blend the Oats:
- In a food processor or blender, pulse the rolled oats until they become a coarse flour-like consistency. This step is optional if you want a chunkier treat, but grinding the oats gives a smoother texture for your dog.
- Mix the Dough:
- In a large bowl, combine the ground oats, whole wheat flour (or oat flour), and peanut butter. Add the egg if you’re using it. Gradually mix in the water, adding just enough to form a dough that holds together without being too sticky.
- Roll and Cut the Dough:
- Lightly flour your work surface to prevent the dough from sticking, and roll it out to about 1/4 inch thickness. Use cookie cutters to cut out fun shapes like bones, hearts, or simple circles.
- If you don’t have cookie cutters, you can simply cut the dough into squares or strips using a knife.
- Place on Baking Sheet:
- Arrange the cut-out shapes on a baking sheet lined with parchment paper or a silicone mat, leaving a little space between each one.
- Bake the Treats:
- Bake for 12-15 minutes, or until the treats are golden brown and firm to the touch. The baking time may vary depending on the size of your treats, so keep an eye on them.
- Cool and Store:
- Allow the treats to cool completely on a wire rack before serving them to your dog. Once cool, store them in an airtight container. They should last for about a week, or you can freeze them for longer storage.
These peanut butter and oat dog treats are a perfect snack for your pup—wholesome, tasty, and easy to make! Plus, they’re customizable, so feel free to add a little extra flavor with some dog-safe ingredients like pumpkin puree or shredded carrots. Your dog is sure to love them!
Watch out for Birch Sugar
Manufacturers have been using the term “birch sugar” or “birch xylitol” as an alternative to the name xylitol, especially when it is derived from birch trees. This is part of an effort to make the product sound more natural or plant-based, but it’s still important to be cautious, as it can still be harmful to dogs.
If you see “birch sugar” or similar terms, be aware that it is the same toxic substance for dogs as regular xylitol. Always double-check the ingredient list if you’re unsure, as even small amounts of xylitol can be dangerous to pets.

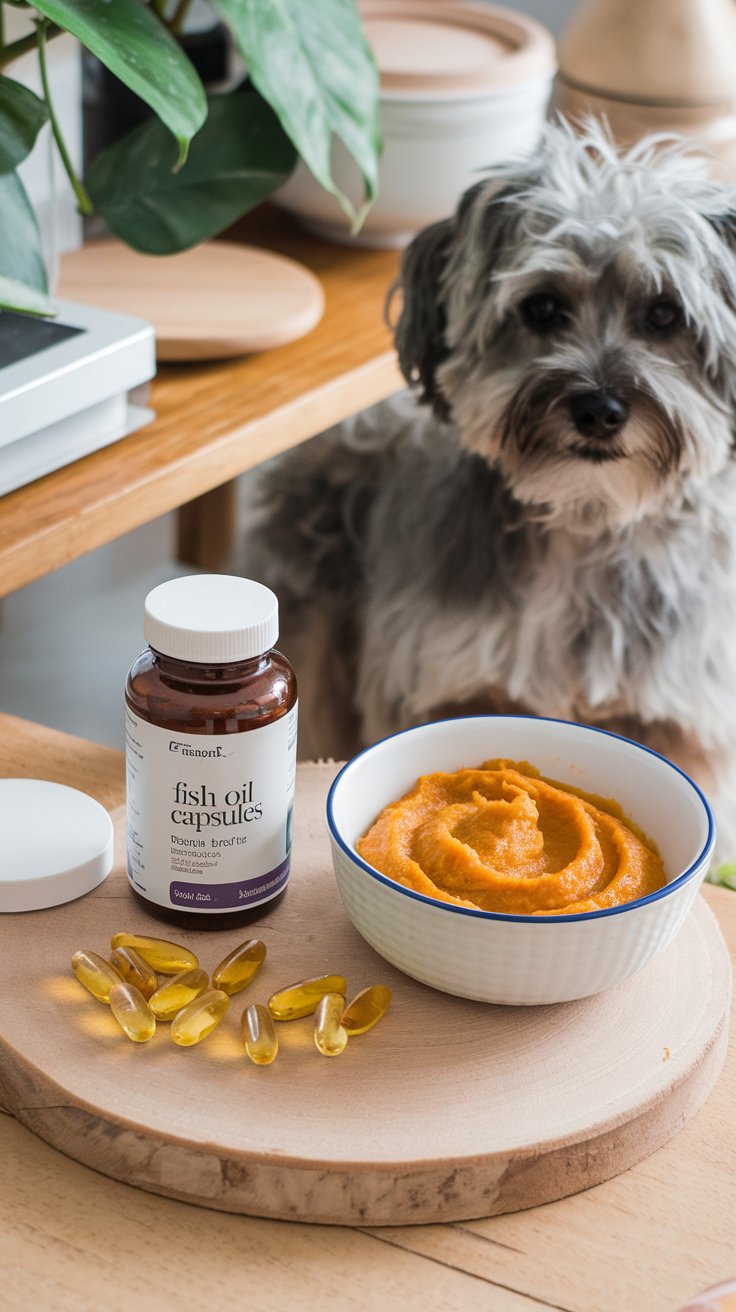
7. Pet Health Supplement Alternatives
Save on expensive supplements by turning to natural alternatives.
Instead of purchasing costly health supplements, consider using natural alternatives like fish oil, turmeric, or even plain pumpkin puree. Fish oil is great for promoting a shiny coat, turmeric supports joint health, and pumpkin can be a good digestive aid. Always check with your vet before starting any new supplements to ensure they’re safe for your pet. Check out this post from The American Kennel Club about pumpkin for dogs.
8. DIY Pet First Aid Kit
Create your own pet first aid kit to handle minor injuries at home.
Having a well-stocked first aid kit for your pet can save you a trip to the vet for small injuries. You can make your own kit by including items like bandages, tweezers, antiseptic wipes, and gauze. It’s a small investment that can be a lifesaver in case of emergencies. Check out this post, Pet First Aid Basics: How to Handle Emergencies, for more info on pet first aid.
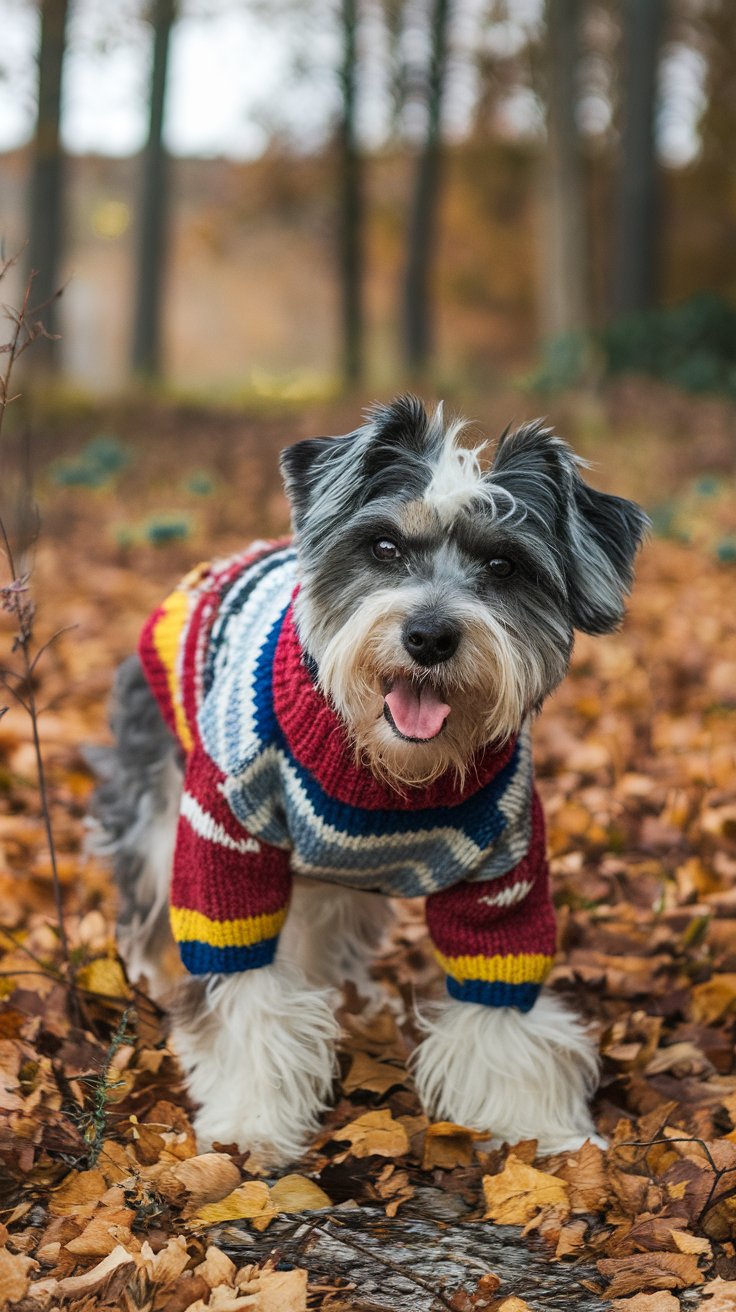
9. Upcycled Pet Clothing
Repurpose old clothing to make stylish, functional pet clothing.
If your pet gets chilly in the colder months, consider making your own pet sweaters or jackets from old clothes. An old sweater can be repurposed into a warm dog sweater, or a pair of socks can be used to create cat boots. It’s a great way to stay eco-friendly and save money.
10. Homemade Pet Cleaning Wipes
Make your own pet cleaning wipes to freshen up between baths.
If your pet needs a quick clean-up between baths, homemade cleaning wipes are the way to go. Simply use baby wipes or soft cloths and dip them in a mild mixture of water and vinegar. These wipes are perfect for wiping paws, faces, or fur and are much cheaper than store-bought alternatives.
Conclusion
DIY pet care hacks are a fantastic way to save money while still providing high-quality care for your pets. Whether it’s homemade toys, natural remedies for fleas, or budget-friendly grooming products, these DIY solutions are easy to implement and great for your pets. So why not give them a try? Your pets will appreciate the love and attention, and your wallet will thank you!
Ready to start saving money while pampering your pet? Try out these DIY pet care hacks today, and let me know which one your furry friend loves the most! Have any other budget-friendly pet care tips? Share them in the comments below—I’d love to hear from you!