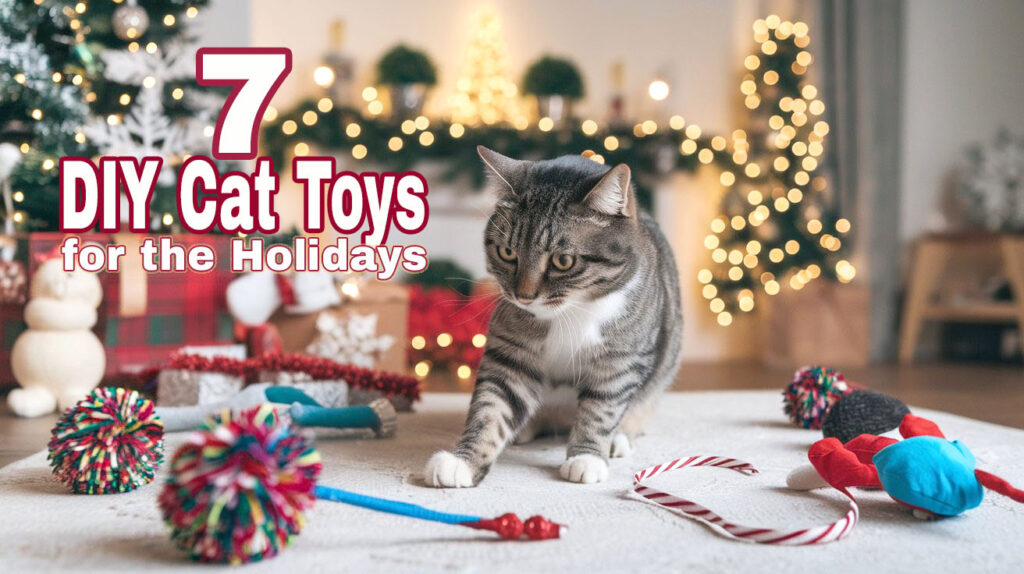
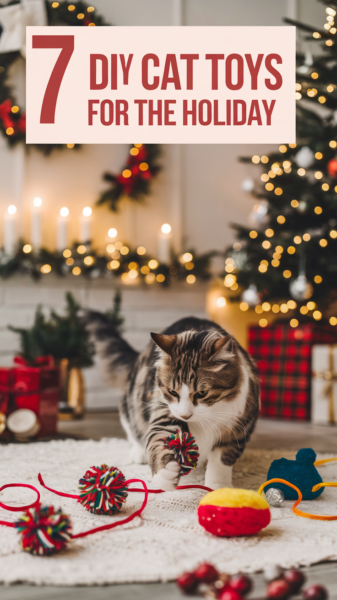
The holidays are a great time to get crafty with your cat! I love making DIY cat toys for the holidays because they’re fun, budget-friendly, and easy to customize for my cats. Whether it’s a cozy catnip sock or a crinkle paper bag, these homemade toys are the perfect way to make the season extra special. Plus, you can use materials you already have around the house, saving money while giving your cat something exciting to play with.
Check out these seven easy DIY cat toys for the holidays. None of them are especially new ideas. Cat lovers have been making these kinds of toys probably for as long as cats have been domesticated. Just a testament to the fact that your kitty will absolutely love them!
Why DIY Cat Toys Are a Great Option
DIY cat toys for the holidays are a win-win for both you and your cat. First off, they’re super affordable. You don’t need to spend a lot of money on store-bought toys when you can easily make your own with materials you already have at home. Whether it’s an old sock or an empty toilet paper roll, these household items can turn into exciting new toys for your furry friend.
Cats each have their own unique play style, so customizing toys to match their preferences can make all the difference. For example, if your cat loves to chase and pounce, you might want to focus on toys that move or mimic prey, like ribbon wands or balls that roll. Cats that enjoy batting and swatting might prefer lightweight toys they can easily paw at, such as crinkle balls or fabric mice. If your cat is more of a stalker, they’ll appreciate toys that hide or surprise them, like crinkly bags or toys that can be stuffed with treats. Understanding your cat’s play style helps you select the right toys that align with their instincts, ensuring they stay engaged, active, and entertained during the holidays.
DIY cat toys are also a more environmentally friendly choice. Instead of throwing away old clothes or cardboard rolls, you can repurpose them into toys that your cat will enjoy. It’s a fun way to be creative, reduce waste, and show your pet some love this holiday season. So, let’s get started on making some fun and festive toys your kitty will love!
Toy Idea #1: Homemade Catnip Sock Toy
If your cat loves catnip, this is the perfect toy! A homemade catnip sock toy is simple to make, and your kitty will be hooked in no time. Here’s what you’ll need:
Materials Needed
- Old sock (preferably clean and free of holes)
- Catnip
- Cotton balls or fabric scraps (optional)
- String (optional, for extra playtime fun)
Instructions
- Fill the Sock: Start by taking an old sock and filling it with a generous amount of catnip. You can also add cotton balls or small fabric scraps to give it a bit of bulk. The more catnip, the better—it’s the secret to keeping your kitty engaged!
Tip: I use tiny kids socks for kittens and adult socks for cats who like to kick play. - Tie It Up: Once the sock is filled, tie a knot at the top to seal it closed. You want to make sure it’s secure so the catnip doesn’t spill out during playtime.
- Optional Extra Fun: For an added twist, you can tie a string around the top or hang a small bell. Be sure the bell is firmly attached! This adds a little extra noise and movement, which many cats find irresistible.
- Playtime: Once your sock toy is ready, give it to your cat and watch them go wild! The catnip scent will keep them playing for hours.
Note: Not all cats are affected by catnip. If your cat doesn’t seem interested in catnip, consider using silvervine as an alternative. Silvervine is another plant that has a stimulating effect on many cats, even those who are not affected by catnip. You can find silvervine powder, which works just as well in homemade toys like this one. If you find the powder is too fine, try these silvervine gall fruit.
This DIY catnip (or silvervine) sock toy is a perfect way to keep your cat entertained during the holidays. It’s easy to make, budget-friendly, and guaranteed to provide hours of fun. Plus, it’s the kind of toy that can be tossed around the house, making it perfect for interactive playtime with your furry friend!
Toy Idea #2: DIY Toilet Paper Roll Feeder
This simple DIY toy is a fun way to provide mental stimulation for your cat while also offering a tasty challenge. I’ve made so many of these toilet paper roll feeders! They’re easy to make and can keep your cat entertained as they figure out how to get to the treats inside. Here’s what you’ll need:
Materials Needed
- Empty toilet paper roll
- String or ribbon (optional)
- Small treats or dry cat food
- Scissors (optional, for added difficulty)
Instructions
- Prepare the Roll: Take an empty toilet paper roll and cut a few small slits at each end, just enough to fold the edges over. This will help keep the treats inside while still allowing your cat to access them.
- Fill the Roll: Next, fill the roll with small treats or dry cat food. You can also mix in a little catnip for an extra treat your cat will love!
- Seal the Ends: Fold over the ends of the roll, sealing the treats inside. If you want to make it even more challenging, use string or ribbon to tie the ends shut, making it harder for your cat to get to the food.
- Let the Fun Begin: Place the roll on the ground or hang it from a string (if you want your cat to bat at it). Your cat will have to roll, bat, and manipulate the toy to get the treats out, providing them with a fun and engaging activity.
This toilet paper roll feeder is a great way to slow down mealtime while providing a fun mental challenge for your cat. Plus, it’s a budget-friendly toy that uses everyday items you probably already have in your home! If your cat enjoys puzzles or treats, they’ll love this simple, interactive toy.
Toy Idea #4: Recycled Fabric Mouse
If your cat enjoys batting around and pouncing on toys, a fabric mouse is a great DIY option. This easy-to-make toy mimics the shape and feel of a small prey animal, tapping into your cat’s natural hunting instincts. Plus, you can use leftover fabric scraps to make it an environmentally friendly project!
Materials Needed
- Scrap fabric (cotton, felt, or any fabric you have on hand)
- Needle and thread (or fabric glue)
- Cotton or stuffing material (optional, for filling)
- Small fabric pieces for ears and tail
- A little bit of catnip (optional, for added fun)
Instructions
- Cut the Fabric: Start by cutting out two oval or mouse-shaped pieces of fabric. They don’t need to be perfect—just make sure they’re roughly the same size. You’ll also want to cut a small strip of fabric for the tail and two smaller pieces for the ears.
- Sew the Body: Place the two fabric pieces together, and use your needle and thread to sew around the edges, leaving a small opening at one end for stuffing. If you prefer, you can use fabric glue instead of sewing.
- Stuff the Mouse: Before closing the opening, stuff the body with cotton or other soft filling material. You can also add a pinch of catnip to the stuffing for an extra treat. The more you stuff it, the more bouncy and durable your mouse will be.
- Attach the Tail and Ears: Sew or glue the fabric strip onto one end of the mouse to create the tail. Attach the small fabric pieces to the front of the mouse to create the ears.
- Seal the Opening: Once the mouse is stuffed and the tail and ears are attached, sew up the opening to close the toy completely.
- Ready for Play: Your cat can now bat, chase, and pounce on their very own homemade fabric mouse. The softness and shape will make it an irresistible toy for your feline friend!
This recycled fabric mouse is a simple, customizable toy that will keep your cat entertained for hours. You can make several in different sizes or colors, and it’s a great way to use up fabric scraps that might otherwise go to waste. Plus, the addition of catnip makes it even more exciting for your furry friend.
Toy Idea #5: Crinkle Paper Bag
For a simple, no-cost DIY cat toy, look no further than the classic crinkle paper bag. Cats are often drawn to the sound of crinkling paper, and this toy taps into their natural curiosity and love for exploring. It’s the perfect toy to keep your cat entertained, especially during the busy holiday season.
Materials Needed
- Small paper bag (preferably unprinted, to avoid ink or chemicals)
- Tissue paper or crinkly plastic (optional, for extra noise)
- Small treats (optional)
Instructions
- Prepare the Bag: Start with a small paper bag, the kind you might get from a grocery store or retail shop. The bag should be large enough for your cat to crawl into or bat around, but not so large that it becomes too cumbersome.
- Add Crinkle Material: To make the bag even more exciting, stuff it with crinkly materials like tissue paper or crinkly plastic (like from an empty food bag). This will add an extra layer of fun and noise when your cat bats at it.
- Optional Treat Surprise: For a little extra fun, hide a few of your cat’s favorite treats inside the bag. This will encourage your cat to dive right in and explore the bag, adding a fun challenge to the playtime.
- Let Your Cat Explore: Place the crinkle bag on the floor and watch your cat’s curiosity take over. They’ll love the sounds of crinkling paper as they bat and dive into the bag. Some cats even like to hide in the bag, making it a cozy spot for a nap once they’ve tired themselves out from playing.
- Supervise Play: If your cat is particularly playful or curious, make sure to supervise them while they play with the paper bag. The crinkly material can be a fun addition, but it’s important to make sure your cat doesn’t chew on the bag or ingest any of the paper.
Note: These plain paper bags are not that easy to come by anymore so here is a link to get them online. I like the old lunch bag size.
This crinkle paper bag toy is an incredibly simple and fun way to keep your cat entertained during the holidays. It taps into their natural instincts to explore and hunt, all while providing hours of entertainment. Plus, it’s a great way to recycle materials you already have at home!
Toy Idea #6: Felted Wool Ball
If you’re looking for a simple, soft, and safe DIY cat toy, felted wool balls are an excellent choice. These balls are lightweight, durable, and can be made with just a few materials. Plus, they’re perfect for cats who love to bat, chase, and even carry toys in their mouths!
Materials Needed
- Wool roving (you can find this at craft stores or online)
- Hot water
- Dish soap
- Bowl or basin
- Towel
- Scissors (optional, to trim any stray fibers)
Instructions
- Prepare the Wool: Start by pulling apart small amounts of wool roving. The amount you use will determine the size of the ball, but around a handful should be good to start.
- Form a Ball: Gently roll the wool into a loose ball shape with your hands. You don’t need to worry about it being perfect at this stage—it’s just the beginning shape.
- Felting Process: Fill a bowl or basin with warm water and add a drop of dish soap. Dip the wool ball into the soapy water and begin gently rubbing it between your hands. The friction from your hands and the soapy water will begin to felt the wool, making it firmer and more solid.
- Rinse and Shape: After a few minutes of rubbing and felting, rinse the ball in cool water to stop the felting process. If necessary, you can reshape the ball to ensure it’s nice and round.
- Drying: Place the felted wool ball on a towel and let it dry completely. Once it’s dry, it’s ready for playtime!
- Optional Additions: If you want to add a little extra fun, you can add a bit of catnip to the center of the wool ball before felting. Cats love the scent, and it will make the ball even more irresistible.
The felted wool ball is soft enough for your cat to bat around but firm enough to hold up during energetic play. This simple toy is perfect for tossing around, pouncing on, and carrying in their mouths. It’s also eco-friendly and a great way to create a handmade toy that your cat will enjoy. Whether it’s for a quick play session or a fun challenge, the felted wool ball will be a hit with your kitty!
Toy Idea #7: Holiday Themed Ribbon Wand
If your cat loves to chase moving objects, a DIY holiday-themed ribbon wand is the perfect interactive toy. It’s fun, easy to make, and can be personalized to fit the holiday spirit! This toy will keep your cat engaged in active play, and it’s a great way to bond during the holidays. They are most of my cats favorite kind of toy so I’ve made a few.
Materials Needed
- A wooden dowel, chopstick, or any sturdy stick
- Holiday-themed ribbons or fabric strips (you can use red, green, or any festive color)
- Hot glue gun or strong adhesive
- Scissors
Instructions
- Prepare the Wand: Start by selecting your wand handle. A wooden dowel or chopstick works great, but you can also repurpose other household items like an old paintbrush or a sturdy stick from a craft store. Cut the stick to your desired length—about 12-18 inches works well for most cats.
- Cut the Ribbons: Take your holiday-themed ribbons or fabric strips and cut them into long pieces, around 12-18 inches in length. You can use one color or mix several to create a festive, colorful look. You can even alternate between red, green, and gold for a more holiday-specific design!
- Attach the Ribbons: Using a hot glue gun or strong adhesive, attach one end of each ribbon to the top of your wand. Space them out as you wish—more ribbons will create a fuller, floppier effect, while fewer ribbons will make the toy lighter and more mobile.
- Let it Dry: Once the ribbons are attached, let the glue dry completely before playtime. This ensures that the ribbons are securely attached to the wand.
- Playtime: Once the ribbon wand is ready, you’re all set for an exciting play session! Hold the wand at one end and wiggle, wave, or dangle the ribbons in front of your cat. They’ll love chasing and pouncing on the moving ribbons, and the festive colors make it even more fun for the holiday season.
The ribbon wand is a great toy to stimulate your cat’s hunting instincts, and the holiday colors make it perfect for getting into the festive spirit. You can even add a bell to the end of the ribbons for extra sound and excitement! Just be sure to supervise your cat while they play, as some cats may try to chew or swallow the ribbons.
Conclusion
DIY cat toys for the holidays are not only a fun way to engage with your pet but also a cost-effective way to show them some love. While you could easily purchase similar toys from the store, creating them yourself allows you to customize each one to suit your cat’s preferences and personality. Plus, it’s a rewarding experience to watch your cat enjoy something you made just for them, all while saving money!
Whether you’re crafting a simple pom-pom or a festive ribbon wand, the joy of creating something special is unmatched. And the best part? You’re helping your cat stay active, entertained, and happy this holiday season—all with a little creativity and effort!


